
Setting your website with Best Hosting Providers
Private web hosting suppliers are the most reason for the internet’s existence. If there have been no personal suppliers, it’d be just about impossible for the consumers – individuals such as you and me– to form their own websites. And if we weren’t able to enliven our concepts, comes like Google would be not solely impossible however unnecessary similarly.
With time, things began to transform. Currently the access to the internet is additional of a human being’s right than it’s a whim.
And whereas within the Western culture, this can be the method we tend to understand the online, there are still places within the world, and even individuals in our a part of the planet that are dreaming to own to make an internet site, however paying for a hosting is simply impossible.
This is what created the Free Web Hosting services necessary.
Free net Hosting is basically a service that gives the client with most, if not all, of the options of the Premium Web Hosting services.
Following are the basic steps towards getting shared hosting for free:
- Register your domain names
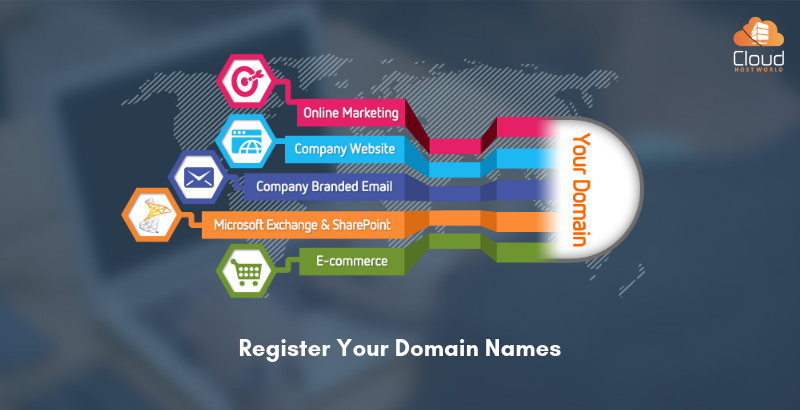
Choose a website registrar that you simply trust and the one that offers smart support. As a rule, I forever keep my domain registration and my internet hosting separate.
There are several domain registrars. Personally, I prefer cloudhostWorld. They provide the best client support.
Then you will need to alter the name servers to it of your internet host, so that you informed the name at your internet host’s internet servers.
Name Servers
Change Name Servers to purpose the name at the host
Any changes to DNS will take up to twenty four hours, though I commonly notice it works before that.
- Host your websites
If you have got low-volume websites and no special needs, then shared hosting would be the best way to go for. As I used WordPress Multi site, I had to travel the Virtual Personal Server route.
Unless you’re a full-fledged sysadmin, you may got to select a control panel for managing your websites. Some of the hosting providers offer their own tailor-madecontrol panels, which is pretty smart. For the other folks, the business customary appears to be cPanel.
- Use Gmail and assemble DNS
Back within the day, I used to manage everyone’s email. Now, I simply set them up with the free version of Google Apps, which has Gmail. A lot of easier to manage, and that I advocate fixing IMAP, so your clients’ email is synced where they’re.
CONFIGURE DNS RECORDS
If you’re using Google Apps and Gmail, then you will have to line up the name Server records, so that email is routed properly through to Google’s mail servers.
- Setup WHM accounts
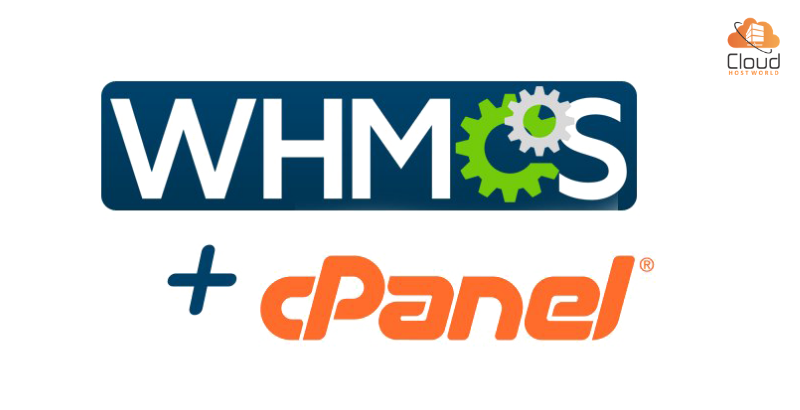
If you’re using cPanel, then it’s possibility that you’re going to be using WHM, the Web Host Manager aspect of cPanel. You’ll be able to sell accounts with full cPanel access to your purchasers, otherwise you will manage each consumer yourself, that is what I do.
If you are managing each consumer yourself, it’s still necessary to form a cPanel account. I’d suggest making a minimum of a few, one for business and one for all of your charity cases.
- Create a MYSQL information USER
There was a time when most websites were created out of plain HTML, perhaps with a few of photos thrown certain smart live. However today, purchasers are posing for WordPress, Drupal or Concrete5, and every manner of different new-fangled database-driven Content Management Systems.
So you would like to feature MySQL user, all over again with full God Powers, that you are doing via Databases >MySQL databases
And now, you’re prepared for the fun bit: adding a client’s web site.
- Add a client’s web site
Change Name Servers: bear in mind to log in to your domain registrar and alter to your web host’s Name Servers, as mentioned above.
Add sub domain: From the cPanel homepage, choose Domains >Add-on Domains, and enter your client’s name, a befittingly snappy username and instantly forgettable, high-security parole. Like thus:
Add-on Domains
Adding anAdd-on Domain
Your username becomes your SFTP username, during this case perennialkitchen@growbusy.co.uk. You’ll be able to check the login details for your FTP accounts underneath Files > FTP Accounts.
Create database: Nice and simple, merely go information> MySQL®databases > produce New Database All databases have the prefix acctname_, therefore if making an information for WordPress, I will add wp and client name, ending up with acctname_wp_client for the total information name. You’ll be able to access your databases by victimization the web-based tool PHPMyAdmin, that you access via Databases > PHPMyAdmin.
Add user to information: Add the God hopped-up User that you simply created earlier to the database, by information> MySQL®databases > Add User To Database.
Access files with SFTP: If you are new toContent Management Systems, I would suggest giving WordPress a spin, as it is a snap to line up.


 India
India USA
USA UAE
UAE
